


Quenching is a rapid cooling step used in heat treatment—most commonly after austenitizing steel—to “freeze in” a microstructure that delivers higher hardness and strength than slow cooling would. In plain terms: you heat the metal to the right temperature, hold it long enough, then cool it fast enough that the atoms don’t have time to rearrange into softer structures.
Quenching is powerful, but it’s also one of the easiest ways to create risk: cracks, distortion, residual stress, and inconsistent hardness if the process isn’t matched to the alloy, geometry, and application.
This guide explains what quenching is, what happens to metal during a quench, the four stages of quenching, common quench media (water, oil, polymer, air), practical examples, and how quenching relates to tempering and “quench & temper” specs you see on drawings.
Safety note: quenching involves hot parts, flammable oils, and vapor/steam. Use proper PPE, training, and equipment. This article is informational and not a safety procedure.
Quenching: a simple definition (engineering meaning)
Quenching is the rapid cooling of a metal from an elevated temperature, usually to achieve a specific microstructure and mechanical properties.

In heat-treating steels, the classic goal is to transform austenite into martensite (a hard phase). Martensite formation requires cooling faster than a certain critical cooling rate. If the cooling is too slow, you may instead form pearlite or bainite, which are generally softer than martensite.
Quenching in chemistry vs quenching in heat treatment
You’ll also see “quenching” in chemistry meaning “stopping a reaction” (for example, quenching a reactive intermediate). That’s conceptually similar—rapidly stopping something—but this article focuses on quenching as a heat-treatment process for metals.
What happens when you quench metal?
When you quench, two big things happen at once:
- Phase/microstructure changes
- In steels, rapid cooling drives transformations that increase hardness (e.g., martensite).
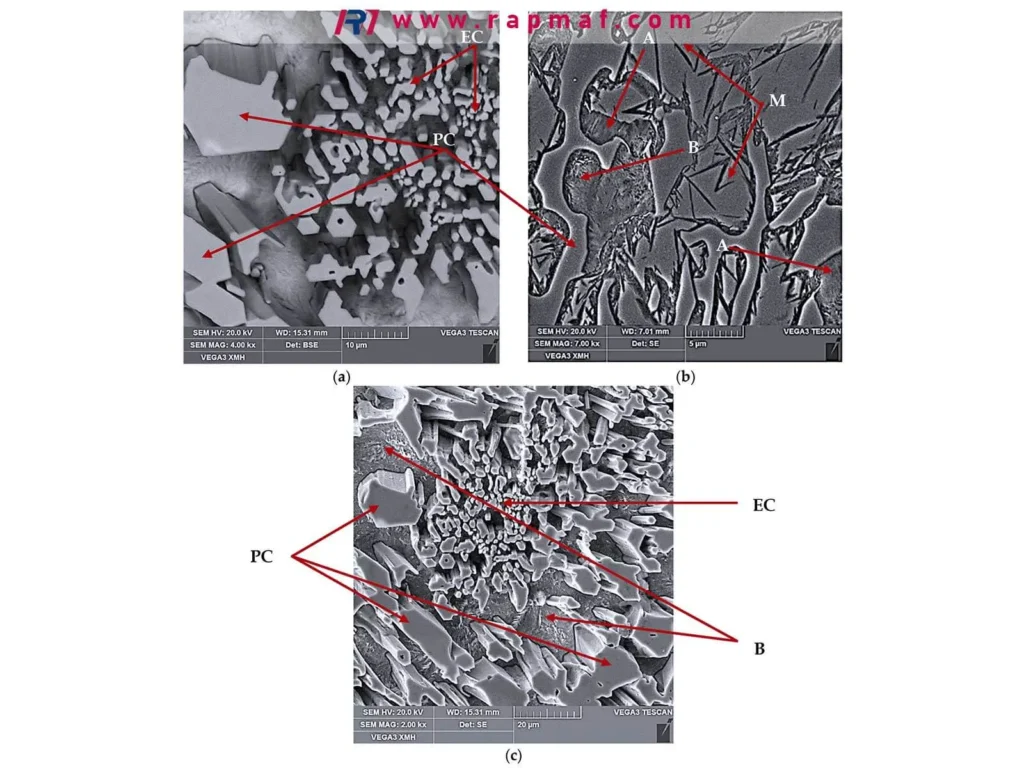
- The exact result depends on alloy composition and cooling rate.
- Thermal gradients create stress
- The surface cools first; the core lags behind.
- Different parts of the geometry cool at different rates (thick vs thin sections, sharp corners, holes).
- That mismatch produces residual stresses and can cause distortion or cracking—especially in high-carbon steels or sharp-edged parts.
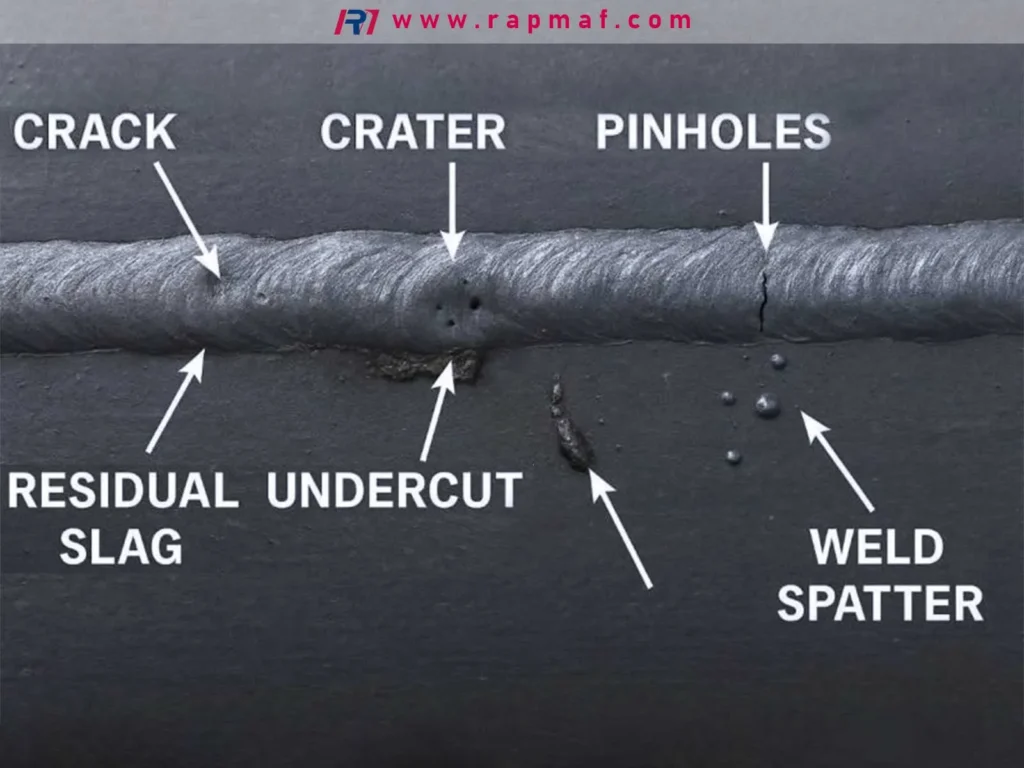
A good quench strategy balances:
hardness requirements + distortion tolerance + crack risk + cost/throughput.
Quenching process in heat treatment (typical steps)
While exact recipes depend on the alloy and standard (ASTM/SAE/AMS), a typical steel hardening route looks like this:
- Preheat (optional)
- Helps reduce thermal shock and improves temperature uniformity.
- Common for tool steels and complex parts.
- Austenitize
- Heat into the austenite region (temperature depends on grade).
- Hold for time to achieve uniform temperature and solution of carbides as needed.
- Quench
- Rapid cooling in a selected medium (oil, water, polymer, air, gas).
- Agitation and part orientation matter.
- Temper
- Reheat to a lower temperature to reduce brittleness and relieve stresses.
- Adjusts hardness/toughness to the target range.
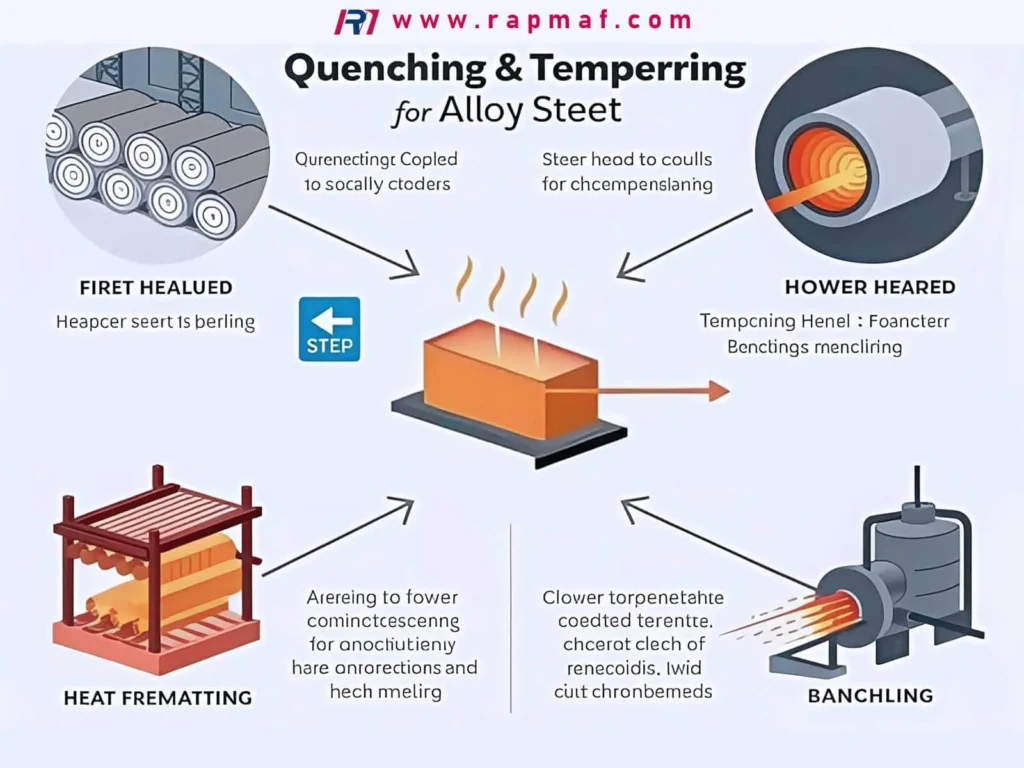
This is why you often see “quench and temper” together. Quenching usually increases hardness but can leave the part too brittle to use as-is.
The four stages of quenching (why cooling rate isn’t constant)
When a hot part is dropped into a liquid quenchant, cooling happens in four recognizable stages. Understanding these stages helps explain why two parts can come out different even if they were “quenched in oil.”
Stage 1: Initial contact (transient)
- Immediately after immersion, the surface is far above the liquid’s boiling point.
- The liquid near the surface flashes and the behavior transitions quickly into a stable mode.
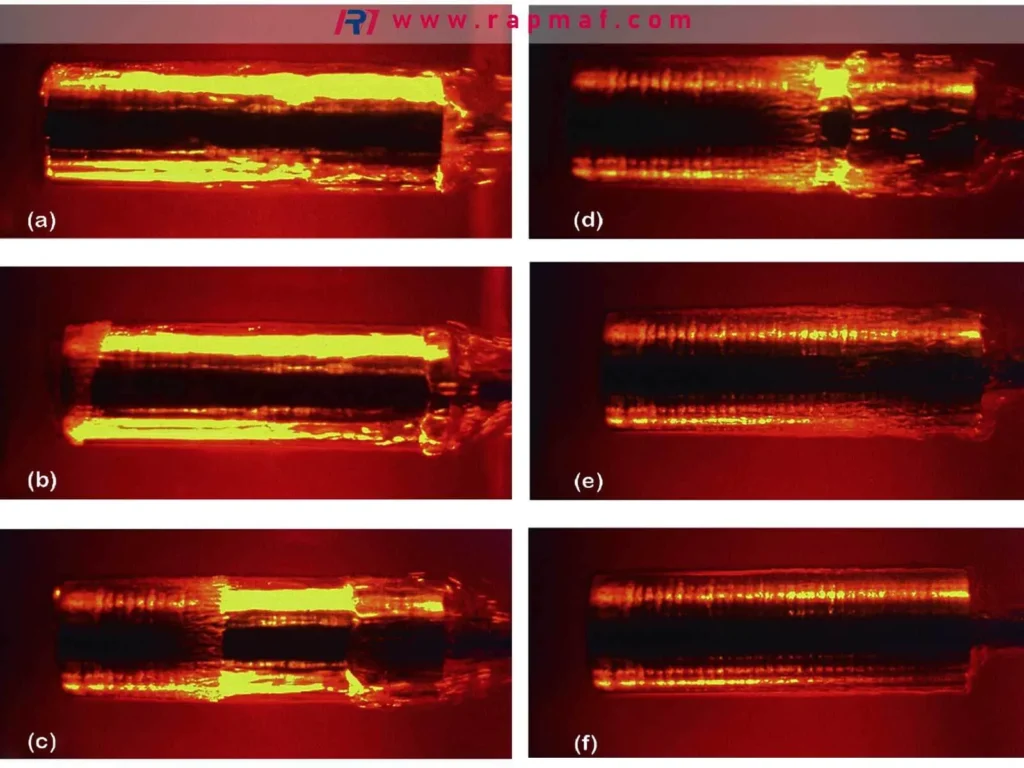
Stage 2: Vapor blanket (film boiling)
- A stable vapor film forms around the hot part (like an insulating jacket).
- Cooling is relatively slow in this stage because the vapor film reduces heat transfer.
Why it matters: the vapor blanket stage is often where quench uniformity problems begin—especially on complex shapes where vapor pockets persist.
Stage 3: Nucleate boiling
- The vapor film breaks down and the liquid contacts the metal surface.
- Intense boiling occurs; heat transfer is very high.
- This is typically the fastest cooling part of the quench.
Why it matters: this stage largely determines whether you exceed the critical cooling rate to form martensite.
Stage 4: Convection cooling
- Once the surface drops below boiling, cooling shifts to liquid convection.
- Cooling rate becomes slower again.
Why it matters: properties can still be influenced here (especially for thick sections), but distortion is often driven by earlier temperature gradients too.
Types of quenching (common quench media)
Water quenching

Fast, inexpensive, and high heat extraction.
Pros
- Very high cooling rate (good for low-alloy steels that need aggressive quenching)
Cons
- Higher risk of distortion and cracking
- More sensitive to part geometry and surface condition
- Can be inconsistent if water temperature and agitation vary
Use cases:
- Simple geometries, certain carbon steels, when maximum hardness is needed and distortion tolerance is generous.
Brine quenching (salt water)
Even faster than plain water because it can disrupt vapor blankets.
Pros
- Extremely fast cooling
Cons
- Even higher crack risk
- Corrosion concerns; maintenance issues
Use cases:
- Niche applications where very high cooling rates are required (less common in modern precision manufacturing).
Oil quenching

A very common choice for alloy steels.
Pros
- Slower than water → lower crack risk
- Often better distortion control than water
- Many “quench and temper” steels are designed around oil quenching
Cons
- Flammability and smoke
- Cooling rate varies with oil type, temperature, agitation, and contamination
Use cases:
- 4140/4340-type steels, many tool steels (depending on grade), general industrial parts.
Polymer quenching (water-polymer solutions)

Adjustable cooling by changing polymer concentration and temperature.
Pros
- Tunable: can behave closer to water or closer to oil
- Often improves distortion control compared with water
- Less flammable than oil
Cons
- Requires concentration control (refractometer), maintenance, and process discipline
- Cooling behavior can drift if not managed
Use cases:
- Production environments that need repeatability and distortion management.
Air / gas quenching (including vacuum furnace high-pressure gas)

Slower, gentler cooling.
Pros
- Lowest distortion risk among common quench methods
- Clean process (especially in vacuum furnaces)
- Good for certain alloy/tool steels designed for air hardening
Cons
- Not suitable for steels requiring very rapid cooling
- Equipment cost can be higher
Use cases:
- Air-hardening tool steels (e.g., A-series), precision parts where distortion control is critical.
Quenching vs tempering (and why they’re paired)
Quenching
- Primary role: create high hardness (often martensite)
- Side effect: high residual stress and brittleness
Tempering
- Primary role: reduce brittleness and stress, increase toughness
- Adjusts final hardness to the specified range
If you quench without tempering (for steels that form martensite), you often end up with a part that is:
- too brittle for service,
- more likely to crack (even delayed cracking),
- dimensionally unstable.
That’s why many drawings call out something like:
“Q&T to 28–32 HRC” or “Heat treat: quench and temper per AMS/ASTM…”
Quenching and tempering: what to expect on real parts
Quench + temper isn’t just about hitting a hardness number. Real-world requirements often include:
- Hardness range (e.g., 30–36 HRC)
- Case vs through hardness (especially for carburized/nitrided parts—different topic but often confused)
- Mechanical properties (tensile/yield/impact)
- Distortion limits (flatness, runout, bore size)
- Microstructure requirements (sometimes for critical parts)
- Certification/traceability (furnace charts, lot traceability)
If your part has tight positional tolerances, bearing fits, or thin blades/vanes, the quench strategy becomes a design and process decision—not a checkbox.
Quenching examples (practical scenarios)
Example 1: 4140 shaft needing strength without becoming brittle
- Goal: good strength and toughness; moderate hardness
- Typical approach: austenitize → oil quench → temper to the target HRC
- Why: 4140 responds well to Q&T; oil reduces crack risk vs water.
What buyers often miss: if the shaft has keyways, threads, or sharp shoulders, those are stress concentrators. Adding radii or changing machining sequence can reduce quench cracking and distortion.
Example 2: Thin-section part warps after quench
- Symptoms: flat plate becomes potato-chipped; hole pattern shifts
- Root causes: non-uniform section thickness, sharp corners, uneven quench agitation, racking issues
- Fixes: redesign thickness transitions, add radii, use better fixturing/racking, choose polymer or gas quench, leave stock for post-HT grinding.
This is why many precision components are machined semi-finish → heat treat → finish grind/finish machine.
Example 3: Tool steel cracking after quench
- Symptoms: cracks at corners or near EDM features
- Root causes: too severe quenchant for that grade, inadequate preheat, sharp internal corners, high residual stress from machining/EDM
- Fixes: correct heat treat recipe for the exact grade, add stress-relief steps, add radii, reduce EDM recast layer, choose air/gas quench for air-hardening grades.
What can go wrong during quenching (and how to reduce risk)
1) Quench cracking
Common contributors:
- high carbon content
- sharp geometry (corners, notches, thin-to-thick transitions)
- overly severe quench medium (water/brine vs oil/polymer)
- delayed tempering (parts sit too long after quench)
Risk reducers:
- add fillets/radii, avoid sharp internal corners
- select proper quenchant for alloy and section thickness
- temper promptly after quench (per shop practice/spec)
- use controlled agitation and proper racking
2) Distortion and size change
Even with “correct” heat treat, you can see:
- bowing/warping
- ovality in bores
- runout increase
- hole position shift
Risk reducers:
- machine in a sequence that anticipates heat treat movement
- use symmetric design where possible
- leave grind stock and finish after HT
- pick a quench medium/process aimed at distortion control (polymer/gas)
3) Inconsistent hardness (lot-to-lot variation)
Common contributors:
- mixed material lots
- inconsistent austenitizing temperature/soak time
- quenchant temperature drift
- poor agitation or overloading the tank
Risk reducers:
- require material certs/heat numbers
- use controlled furnaces and documented recipes
- monitor quenchant concentration/temperature
- avoid overloading and ensure spacing for flow
How quenching affects machining (what machinists and buyers should plan for)
Quenched steels can be significantly harder and more abrasive to cut. Planning matters:
Recommended process planning (common in production)
- Rough machine in annealed/pre-hard condition
- Leave stock on critical surfaces
- Heat treat (quench + temper)
- Finish machine or grind critical fits and datums
- Final inspection (CMM, hardness report, etc.)
If you must machine after quench
Expect:
- slower feeds/speeds
- different tooling (carbide grades/coatings)
- more tool wear and risk of chatter
- potentially higher cost and longer lead time
How We Quote Heat Treat + Machining (What We Need + What You Get)
When a drawing includes quenching (or a “Q&T” callout), quoting isn’t just “add heat treat.” The heat-treat route changes machining sequence, inspection plan, lead time, and risk—especially for tight-tolerance parts.
Here’s the practical way we quote combined machining + heat treat so you can move from CAD to conforming parts with minimal surprises.
What we need from you (quote inputs that prevent rework)
1) CAD + drawing package
- STEP/IGES + 2D drawing (PDF) with GD&T, datums, and critical-to-function notes
- Highlight features sensitive to movement: long bores, bearing seats, sealing faces, thin webs
2) Material and condition
- Grade and spec if applicable (e.g., ASTM/SAE/AMS)
- Starting condition you prefer: annealed, normalized, pre-hard, etc.
- Material certification needs (MTR, heat number traceability)
3) Heat treat requirement (the “must-have” details)
- Target hardness range (e.g., 28–32 HRC) or mechanical property targets
- Any required standard (ASTM/AMS/customer spec)
- Any restrictions (e.g., “no decarb,” “microstructure verification,” “vacuum heat treat only”)
If you don’t know the exact HT spec yet, we can still quote—but we’ll propose a baseline route (and list assumptions clearly).
4) Tolerances after heat treat
To quote correctly, we need to know what must be held after Q&T, for example:
- runout/concentricity on journals
- bore size/roundness
- flatness/parallelism
- gear or spline features (if any)
If tight features are required after heat treat, we’ll usually recommend finish machining or grinding post-HT.
5) Quantity and delivery plan
- Prototype / pilot / production quantity
- Whether you need a small pilot run before ramping
- Target ship date and delivery location (affects HT scheduling and logistics)
6) Inspection and documentation level
Choose the level that matches your risk:
- Basic: dimensional check + hardness spot check
- Standard: full dimensional report on critical features + hardness report
- Advanced: CMM report, hardness map locations, HT cert package, traceability, surface finish report if needed
What you get back (how we present the quote)
A) A recommended process route (not just a price)
We’ll outline a proposed sequence such as:
- Rough machine → stress relieve (if needed) → semi-finish → quench & temper → finish machine/grind → final inspection
and we’ll call out where distortion is most likely and how we plan around it (workholding, stock allowance, feature order).
B) Options when risk and cost are in tension
For many programs, we provide two quote paths:
Option 1: Fast prototype route
- Minimal extra steps
- Faster lead time
- Best when tolerances are moderate and you mainly need form/fit testing
Option 2: Production-ready route
- More controlled HT + added inspection
- Stock-for-finish after HT (and/or grinding)
- Best when tolerances are tight or the part is geometry-sensitive
This makes it easier for you to choose the right spend level at each program stage.
C) Clear assumptions (so change control is simple)
We list assumptions on:
- hardness range and verification method
- post-HT machining allowance
- expected distortion risk level
- any fixturing/racking requirements
- inspection scope and sample size
If your spec changes (e.g., hardness range or post-HT tolerance), we can revise quickly because the quote is tied to a defined route.
Common quote-killers (and how to avoid them)
- “Heat treat per standard” with no hardness range: include the HRC target.
- Tight bore/journal tolerances but no note that they’re post-HT: tell us what must be held after quench.
- Thin-to-thick transitions with sharp corners: add radii or ask for DFM—this often saves weeks.
- Expecting zero movement: plan for finish after HT on critical features.
Quenching FAQs
What is the quenching process?
Heat to the required temperature (often austenitizing for steels), hold for uniformity, then cool rapidly in a controlled medium (oil, water, polymer, air/gas), usually followed by tempering.
What are the four stages of quenching?
- Initial transient contact
- Vapor blanket (film boiling)
- Nucleate boiling
- Convection cooling
What happens when you quench metal?
You change its microstructure (often increasing hardness in steels) while also introducing thermal gradients that can create residual stress, distortion, or cracking if not controlled.
What are some examples of quenching?
Oil-quenching 4140 shafts before tempering, water-quenching simple carbon steel tools for high hardness, and gas quenching air-hardening tool steels in a vacuum furnace for precision parts.
Practical RFQ checklist (so a shop can quote the right quench plan)
If you’re sending an RFQ that includes quenching (or “Q&T”), include:
- Material grade (e.g., 4140, 4340, 1045, A2, D2, 17-4PH—note: 17-4 uses precipitation hardening, not classic quench/temper)
- Final hardness requirement (HRC range) and any mechanical property requirements
- Geometry risk notes (thin walls, sharp corners, deep holes, long shafts)
- Dimensional tolerances after HT (runout, flatness, bore fits)
- Preferred process route if you have one (finish before HT vs finish after HT)
- Certification needs (heat treat cert, furnace charts, traceability)
- Quantity and lot size (affects racking, load size, and consistency)
A capable supplier should come back with:
- recommended quench medium and process route
- notes on expected distortion and how they’ll control it
- post-HT machining/grinding plan if required
- inspection plan (including hardness testing points)
References
- ASM International (heat treatment fundamentals and terminology): https://www.asminternational.org/
- SAE International (AMS standards search/overview): https://www.sae.org/standards